
do less...
[ This space intentionally left blank. ]
Use Preview on OS X to digitally sign documents
If you’re printing out documents just so you can sign and scan them back onto your computer, then something is seriously wrong with your workflow. Preview for OS X allows you to skip the archaic printing and scanning process by letting you put your digital Herby John Hancock on anything that Preview is able to open.

Here’s what you need to do so you can retire that multi-function printing monstrosity and finally go paperless.
What You’ll Need
- an Apple Computer running OS X with a functioning webcam
- a white piece of paper
- a black pen
Creating a Signature Using Your Webcam
- Grab your black pen and sign your name in the middle of the white paper
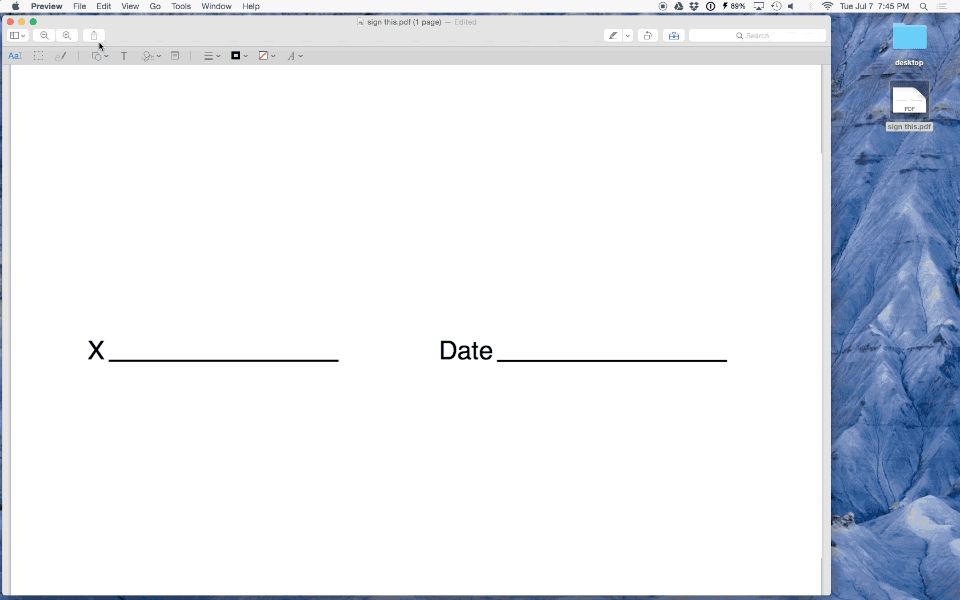
- Open a document you’d like to sign
- Show the Markup Toolbar by clicking the little tool box next to the search box in the upper right corner of the Preview window
- Click ‘Sign’ (conveniently, it looks like a signature)
- Click ‘Create Signature’
- Click ‘Camera’. This will activate your camera, showing a live feed with a thin blue line across it
- Position your signature so the bottom of it rests on the blue line, and make sure it goes straight across
- Click ‘Done’ to save your signature
- Click ‘Sign’ once again and choose your signature
- Resize your signature and move it around the document to your heart’s content
- Save your signed document
If for some reason your Mac doesn’t have a working webcam or finding a paper and pen is just too much effort, you can create a signature using your touchpad, but the results will not look nearly as authentic as the paper, pen, and camera method.
Creating a signature using your touchpad
- Open a document you’d like to sign
- Show the Markup Toolbar by clicking the little tool box next to the search box in the upper right corner of the Preview window
- Click ‘Sign’
- Click ‘Create Signature’
- Click ‘Click Here to Begin’
- Using your finger, start on the left side of the track pad and draw your signature on the touchpad
- Press any key to end the signature creation process
- Click ‘Done’ to save your signature or hit ‘Clear’ and try again
- Click ‘Sign’ once again and choose your signature
- Resize your signature and move it around the document to your heart’s content
- Save your signed document
Now that you’re able to digitally sign documents, you’ll save lots of time doing something that should have always been simple, and you can feel good knowing that you’ll be saving some trees in the process.

Submitted To Apple, Guide, OS X

Like what you read? Share it.
(That helps us.)
Love what you read? Patronize Joe Corbett.
That helps us and the writer.
What is Patronizing? Learn more here.